Getting Started Guide for Admin users
Welcome
Portal Overview
After successfully registering, it's time to log on to the CGM PORTAL and unlock its full potential!
If you log on for the first time, the system displays a Welcome text and a link to our Getting Started Guide. This information shall help you after your first login to quickly find your way in the system.
The pop-up includes a checkbox that you can activate to prevent that this Welcome pop-up is displayed again with the next login.

Once logged in, you'll find yourself on the DASHBOARD. The DASHBOARD offers quick access to essential features, keeps you updated with the latest news, and provides handy links to additional information resources.
No matter what your role is, you will not only have access to the DASHBOARD but also to the following menus:
- MYORG: Directly manage your organization in the CGM PORTAL.
- SUPPORT: Get assistance and guidance whenever you need it, for example to create a Case with ease.
- NEWS: Stay in the loop with important updates and announcements.
Use the navigation bar on the left to easily navigate through these menus.
Don't forget to check out the top-right corner!
There, you'll find a bell icon which provides access to Notifications that keep you informed about Case updates. In addition, various Profile Settings allow you to personalize your CGM PORTAL experience.
Get ready to explore, engage, and make the most out of your journey with the CGM PORTAL!

Across key pages and functionalities througout the entire CGM PORTAL, you will find help icons (question marks). Clicking such an icon will open the corresponding Knowledge Base article on the right side explaining the corresponding functionality.

Your First Steps
To become acquainted with the CGM PORTAL, we suggest starting with the following initial steps. However, feel free to explore the tool at your own pace and discover its full potential. The following initial steps are tailored to users with the Admin role. If you have the Customer User role, we suggest the following Getting Started Guide for users.
1. Adjust your Profile Settings
To customize your experience, start by adjusting your profile settings.
To do so, follow these steps:
1. In the top right corner, click on your profile and select My Profile.
You'll see different tabs on the screen on which you can change data or access Cases:
- Personal & Organization Details
- Support Cases
- Appointments
- Settings
2. On the Settings tab, you can customize your preferred language, notification settings, subscription settings, or marketing consents to suit your individual requirements.

2. Create your Contacts
If you have an administrator role for your account, it's important to add employees or colleagues which should also have access to the CGM PORTAL.
To add a new contact, follow these steps:
1. Navigate to the MYORG menu.
2. On the Contacts tab, click the Add New Contact button.
3. Maintain the required fields with the information about the contact person.
4. Select an appropriate portal role for the contact based on the required authorization level and maintain the required fields. The following roles are available:
- Admin: A user with Admin role has access to all functionalities in the portal. That means, an Admin can:
- create and change Contacts
- create Admin Cases and Support Cases
- view all cases of the organization
- view all invoices of the organization
- Super Admin: A user with Super Admin role is the main administrator of the account.
- Super Admins have similar access as users with the standard Admin role. Difference: No other user can remove the Super Admin authorization/role (even if the other user has a Super Admin role).
- Super Admins can change the role from Admin to User.
- User: A user with the User role can:
- create Support Cases for him-/herself
- has read access to the organization
- Customer Support Manager:
- For users with the Support Manager role, a similar layout is displayed as for users with the User role. However, für Support Manager users, there is no restriction to see their own cases only.
- They have similar access as users with Admin role.
- They can view all cases of the organization.
- They can be selected as Watcher.

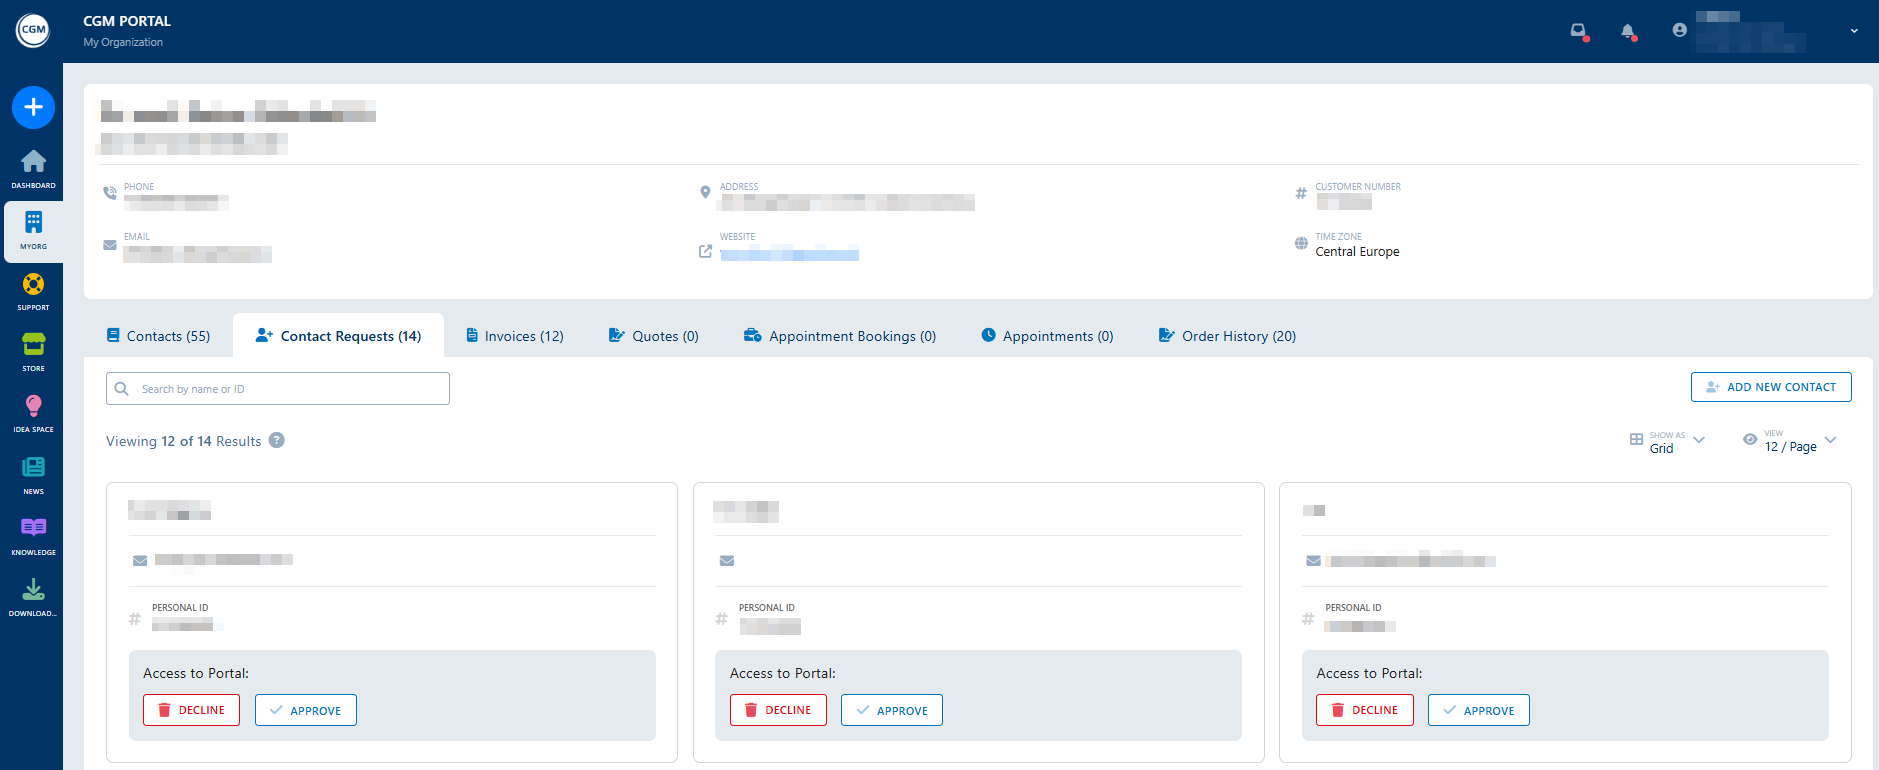
If an employee/colleague used the self-onboarding process, you will receive a Contact Request. You can find these requests in the MYORG menu on the Contact Requests tab.
Review the open requests and either approve or decline them. Once approved, the contact will be available on the Contacts tab.
3. Check your Notifications
Have you received any notifications? You can find them by clicking on the bell icon next to the profile at the top on the right side.
If there are new notifications, you'll see a red dot next to the bell: 
Click on the bell to see the notifications. Unread notifications are marked with a red dot.
Clicking on a notification in the list will take you to the relevant object or information.

4. Create a Case
If you have any issues or questions about your CGM product, you can create a Support Case or an Admin Case.
- Support Cases are used in case of issues/questions relating to a CGM product.
- Admin Cases are used for administrative requests such as Billing, Invoicing, Contracts etc.
There are two procedures to create a Case:
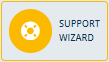
- Use the Support Wizard, which will guide you step-by-step in creating your Case.
- Use the Create Case form for an even faster Case creation process.

Both functionalities can be accessed as follows:
- Use the Quick Create feature. To do so, click the blue button with the white cross on the left side above the navigation bar.

- Use the SUPPORT menu. To do so, click the Create Case button on the right side.

5. Set up personalized Case filters
By setting up your individual case filters, you can quickly and efficiently find the cases that are most relevant to you. Take control of your portal experience and save valuable time by using this powerful feature.
The Card Board (Kanban), the List View, and the Charts in the SUPPORT menu already provide an overview of your cases.

In addition, each of these entry points in the SUPPORT menu provides the possibility to search for and filter your cases.
To create your personalized case filter, follow these steps:
1. Click the Filters button. This will display several drop-down fields with different filter options.
2. Choose the filter criteria that best suit your requirements.
3. Click the Save button.
4. In the pop-up window, enter a name and description to easily distinguish it from other individual filters.
5. Once saved, you can access your personalized filter whenever you need it. Just click on the My Filters button and select the filter you want to apply.
