Allocating Assets (MYORG)
Note: The Assets tab is only visible to users with the partner role.
If you as a VAR (Value-Added Reseller) want to allocate an asset to a customer, proceed as follows:
1. In the CGM PORTAL, navigate to menu "MYORG".
2. Click on tab "Assets".
| Column | Description |
| Bought | Indicates the number of assets that you have bought. |
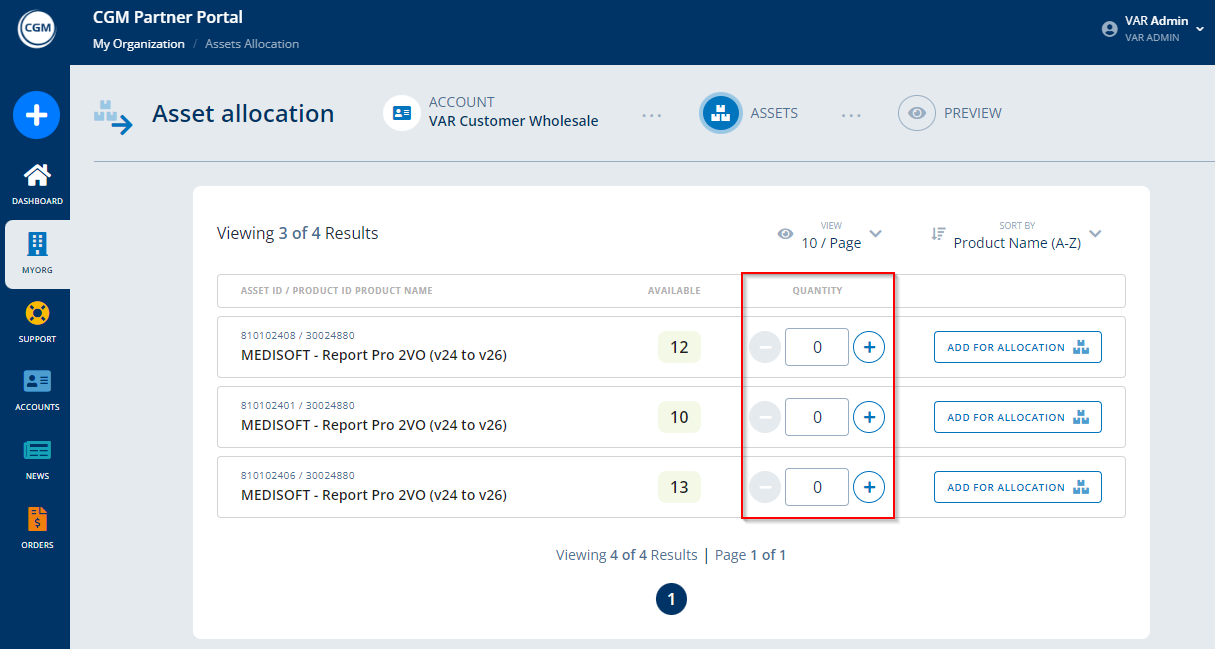
| Available | Indicates the number of assets that you can still allocate to the customer. |
3. Click on button "Asset Allocation".

4. Click on button "Select" for the respective customer.

5. Here, you can allocate your assets to the customer by clicking on the '+' icon in column "Quantity".
Via the '-' icon, you can reduce the quantity.
Note: If a certain asset is no longer available due to missing quantity, this is not displayed in the list for selection.
6. For each line for which assets should be allocated, you have to click on button "Add For Allocation" which is confirmed by the system by displaying "Added".

7. Once you have added the quantity you want to allocate, you can click on the arrow icon at the top to display all selected assets to be allocated.
If necessary, you can adjust the quantity again or remove certain or all assets from again.

8. Once you have checked and everything is as desired, click on button "Preview & Allocate".

9. If the preview is fine, click on button "Allocate".

10. Once the system allocated the assets, it displays a success message.

If you click on button "View Details", the system should have applied the changes already.